PSADT Scripting with Visual Studio Code
Torsten Rywelski
April 30, 2025
⏳ 3 min
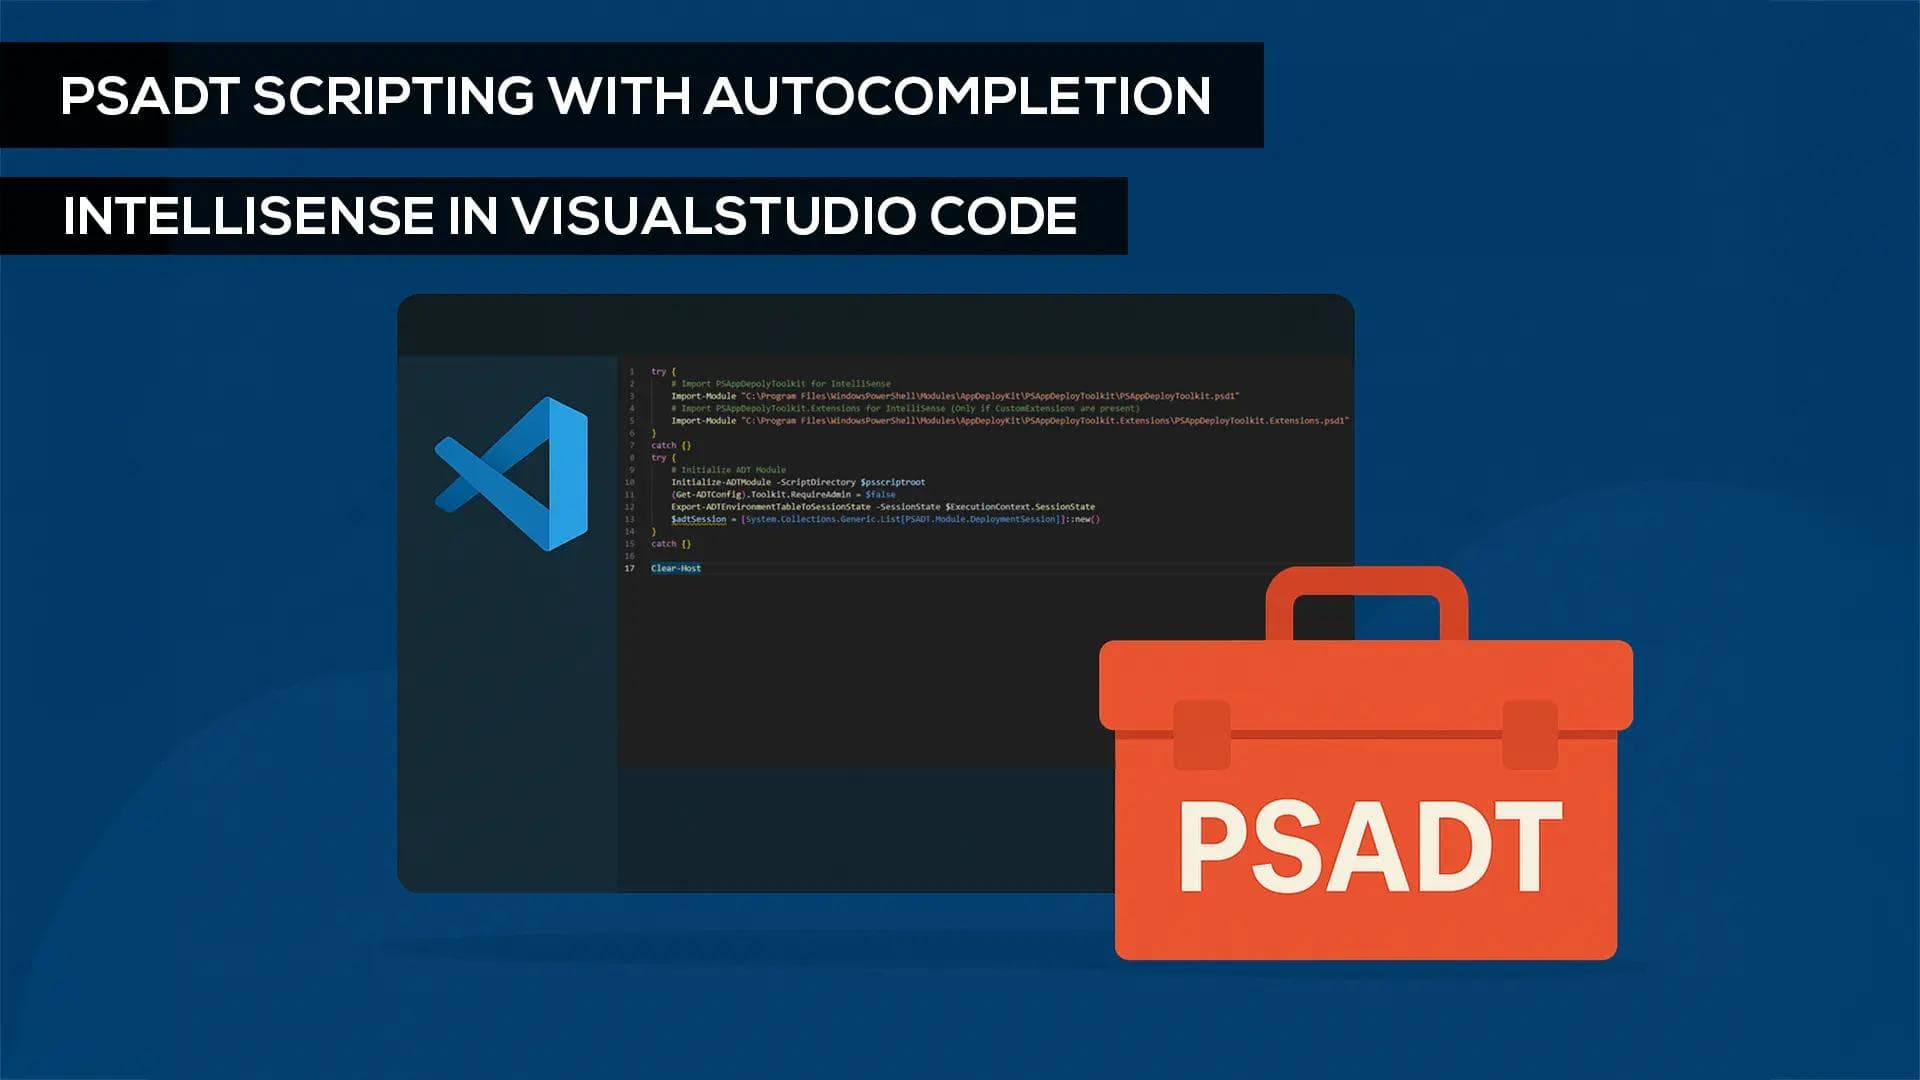
Seamless integration of the autocompletion (IntelliSense) of the PSAppDeployToolkit in Visual Studio Code
The PSAppDeployToolkit (PSADT) is a globally recognized PowerShell function collection that makes software packaging and mass rollouts effortless.
PSADT makes it easy to deploy software and applications across platforms such as Intune, MECM/SCCM, Ivanti DSM/Neurons or Tanium. The current version 4.x of PSADT offers even more possibilities. As an open source project under the GNU Lesser General Public License of the Free Software Foundation, PSADT can be used free of charge.
PowerShell scripts can be created with almost any editor - even with simple text editors such as Notepad. In this blog post, I'll show you how to integrate the PSAppDeployToolkit (PSADT) into Visual Studio Code to benefit from Autocomplete and IntelliSense.
PSADT integration step-by-step
Step 1: Install Visual Studio Code.
Step 2: Install PowerShell extension in Visual Studio Code.
Step 3: PSADT 4.0.x Download template.
Step 4: Unzip the source.
Step 5: Copy the directories PSAppDeployToolkit and PSAppDeployToolkit.Extensions.
PSAppDeployToolkit.Extensions. directory only needs to be copied if custom functions have been created for the PSADT.

PSAppDeployToolkit and PSAppDeployToolkit.Extensions in the File-Explorer
Target: “C:\Program Files\WindowsPowerShell\Module\AppDeployKit”
Step 6: Start VisualStudio Code Editor.
Schritt 7: Enter “notepad $profile” in the terminal window. The “start script” of VisualStudio Code is now opened.
If a message indicates the file doesn't exist, confirm this and create a new file accordingly.

Terminal window with the command “notepad $profile” to open the PowerShell start script
Step 8: Insert the following lines of code into the file and save:
try {
# Import PSAppDepolyToolkit for IntelliSense
Import-Module "C:\Program Files\WindowsPowerShell\Modules\AppDeployKit\PSAppDeployToolkit\PSAppDeployToolkit.psd1"
# Import PSAppDepolyToolkit.Extensions for IntelliSense (Only if CustomExtensions are present)
Import-Module "C:\Program Files\WindowsPowerShell\Modules\AppDeployKit\PSAppDeployToolkit.Extensions\PSAppDeployToolkit.Extensions.psd1"
}
catch {}
try {
# Initialize ADT Module
Initialize-ADTModule -ScriptDirectory $psscriptroot
(Get-ADTConfig).Toolkit.RequireAdmin = $false
Export-ADTEnvironmentTableToSessionState -SessionState $ExecutionContext.SessionState
$adtSession = [System.Collections.Generic.List[PSADT.Module.DeploymentSession]]::new()
}
catch {}
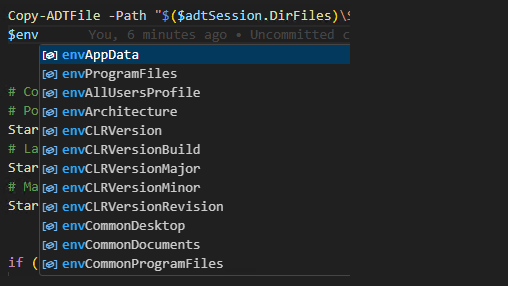
Clear-Host Step 9: After restarting Visual Studio Code and opening a PS1 script, the PSADT module is loaded (it takes a little longer the first time it is loaded). All PSADT commands are now available. The variables can also be called up:
Visual Studio code after loading a PS1 script with PSAppDeployToolkit module enabled and IntelliSense support available
Step 10: With the PowerShell CMDlet Get-Help and a PSADT function in the terminal window of Visual Studio Code, the corresponding help for the function can be displayed.
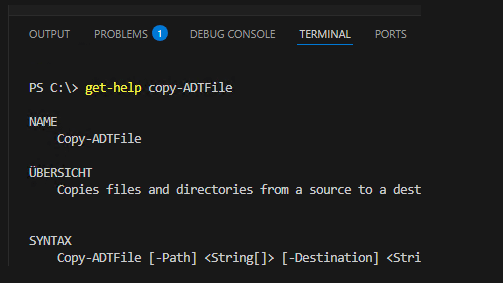
Here is an example of the PSADT function Copy-ADTFile
An overview of all PSADT functions is available with the Show-ADTHelpConsole function.
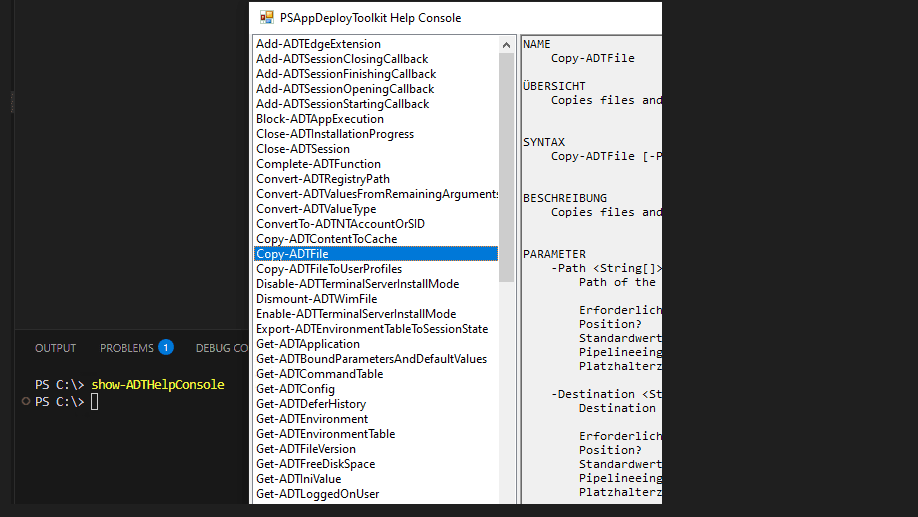
Show-ADTHelpConsole
Do you have questions about packaging or software deployment with the PSADT, or need support? Feel free to reach out using our contact form – or grab a spot in our PowerShell Basics and PSAppDeployToolkit Basics trainings!